Shoulder bags are a timeless fashion staple, offering both style and practicality. Whether you’re looking for a casual everyday tote or a chic evening clutch, there’s a perfect shoulder bag waiting to be made. But store-bought bags can be limiting. Why not create your own unique shoulder bag that reflects your personality and complements your wardrobe?
This comprehensive guide empowers you to embark on the rewarding journey of making a shoulder bag. We’ll delve into everything you need to know, from essential supplies and popular pattern choices to step-by-step instructions and inspiring ideas for personalization. So, grab your creativity and get ready to transform yarn or fabric into a beautiful shoulder bag you’ll love!
Essential Tools and Materials: Get Crafting Ready
Before diving into the world of handmade shoulder bags, let’s gather the necessary supplies:
- Fabric or Yarn: The choice depends on your desired outcome. Fabric offers a wider variety of prints and patterns, while yarn allows for crocheting or knitting unique textures and designs.
- Sewing Machine (for fabric bags): A trusty companion for stitching pieces together and adding finishing touches.
- Crochet Hook or Knitting Needles (for yarn bags): Choose a size appropriate for your yarn weight.
- Scissors: For cutting fabric or yarn.
- Thread (for fabric bags): Select a thread color that complements your fabric.
- Optional: Zippers, buttons, lining fabric, interfacing (for added structure in fabric bags), tapestry needle (for weaving in yarn ends), and measuring tape.
Consider purchasing a pre-cut fabric kit specifically designed for making a shoulder bag. These kits often include all the fabric pieces, lining, and hardware you’ll need, making the process even easier for beginners.
Picking the Perfect Pattern: A Shoulder Bag for Every Style
The internet is a treasure trove of free and paid shoulder bag sewing and crochet patterns. Here are some popular styles to inspire you:
- Tote Bag: A timeless and versatile option, perfect for everyday essentials. Totes are typically rectangular with long handles and a simple construction, making them ideal for beginners.
- Bucket Bag: Offering a touch of bohemian flair, bucket bags have a round base and a drawstring closure that cinches at the top.
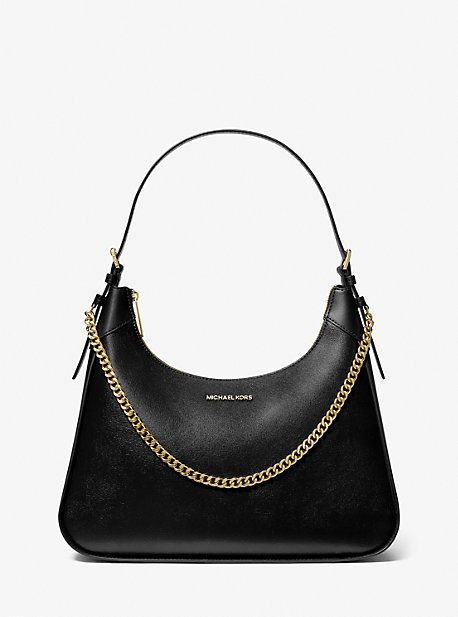
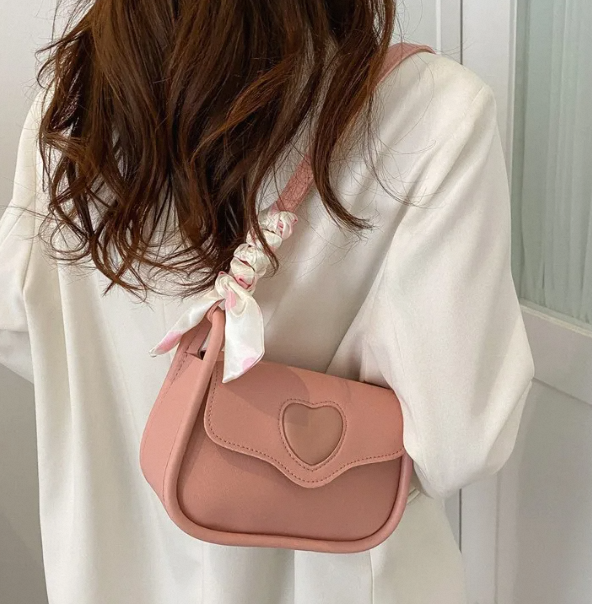
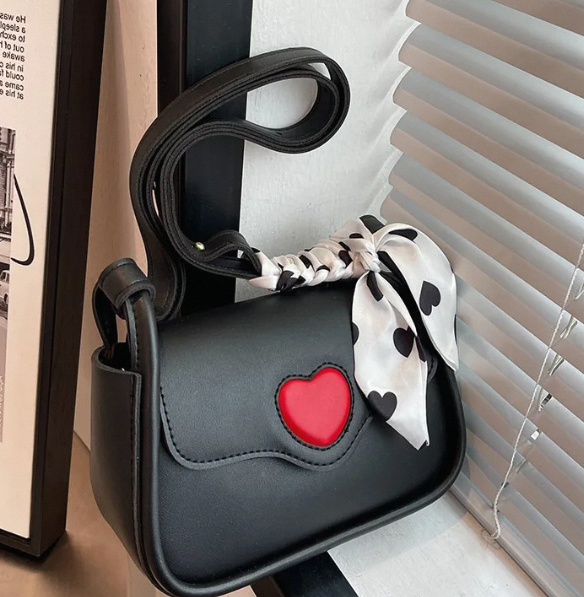
- Flap Bag: A classic and sophisticated design, featuring a flap that folds over the top of the bag for secure closure.
- Satchel Bag: Structured and professional, satchels have a flat bottom, a rectangular body, and an adjustable shoulder strap.
When selecting a pattern, consider your skill level, desired bag size, and preferred style. Many websites offer pattern difficulty ratings to help you choose a project that matches your experience.
Look for patterns with clear instructions, detailed diagrams, and material lists. Some patterns even include video tutorials for visual learners.
Mastering the Fundamentals: Building Blocks of Your Bag
Whether you choose to sew a fabric bag or crochet a yarn bag, a few essential techniques will come in handy:
For Fabric Bags:
- Basic Sewing Techniques: Learn how to operate your sewing machine, thread a needle, sew straight seams, and create basic stitches like a backstitch and a zigzag stitch.
- Cutting Fabric: Precisely following pattern instructions is key to achieving a well-constructed bag.
For Yarn Bags:
- Crochet Stitches: Master essential stitches like single crochet, double crochet, and slip stitch. These stitches form the building blocks of most crochet projects.
- Knitting Stitches: If knitting is your preference, learn the knit stitch and purl stitch, which can be combined to create various textures and patterns.
By acquiring these fundamental skills, you’ll be well on your way to crafting your dream shoulder bag!
Bringing Your Shoulder Bag to Life: A Step-by-Step Guide
Now that you’re armed with the essential tools and have a chosen pattern, let’s walk through the general process of creating your shoulder bag. Remember, specific instructions will vary depending on your chosen pattern, but these steps provide a foundational framework:
For Fabric Bags:
- Prepare Your Fabric: Iron your fabric to remove wrinkles and ensure smooth sewing. Cut out the fabric pieces following the pattern instructions.
- Assemble the Bag Body: Sew the fabric pieces together according to the pattern, right sides facing each other. Leave an opening for turning the bag inside out later.
- Add Structure (Optional): Iron interfacing onto specific fabric pieces if your pattern calls for added structure and stability.
- Create the Lining (Optional): Cut lining pieces following the same pattern as the outer fabric. Sew the lining pieces together and attach them to the bag’s interior.
- Finishing Touches: Attach zippers, buttons, or other embellishments as per your pattern’s instructions. Turn the bag right side out, close the opening with a slip stitch, and add the straps.
For Yarn Bags:
- Start with a Foundation Chain: Chain the desired number of stitches to create the base of your bag.
- Work the Body of the Bag: Follow your chosen pattern’s instructions, using crochet or knitting stitches to create the main body of the bag.
- Shape the Bag (Optional): Depending on the pattern, you might need to increase or decrease stitches at specific points to shape the bag.
- Crochet or Knit the Handles: The pattern will provide guidance on creating separate straps or incorporating handles directly into the bag body.
- Finishing Touches: Weave in all yarn ends with your tapestry needle. Add a lining (optional) for extra structure and organization. Personalize your bag with buttons, beads, or tassels!
Take your time, don’t hesitate to consult your pattern for clarification, and enjoy the creative process!