Leather shoulder bags offer a unique blend of style and functionality. Durable, sophisticated, and endlessly customizable, a leather shoulder bag can become a cherished companion for years to come. But if you’ve always admired these beautiful bags and thought they were out of reach, think again! Crafting your own leather shoulder bag is a surprisingly achievable and rewarding project.
This comprehensive guide will equip you with the knowledge and skills to create a stunning leather shoulder bag, even if you’re a beginner leatherworker. We’ll break down the process into easy-to-follow steps, explore must-have tools and materials, and provide valuable tips to ensure your handmade bag becomes a source of pride.
So, gather your supplies, unleash your creativity, and get ready to embark on a journey of leathercraft!
Assembling Your Leatherworking Arsenal
Before diving into the world of leather sewing, you’ll need to gather the essential tools and materials to bring your vision to life. Here’s a basic list to get you started:
- Leather: Choosing the right leather is crucial for the success and longevity of your bag. For beginners, opt for vegetable-tanned leather, which is easier to cut and sew than chrome-tanned leather. Consider factors like thickness, weight, and temper (stiffness) when selecting your leather.
- Leather Knife: A sharp rotary cutter or swivel knife is ideal for precise leather cutting.
- Cutting Mat: Protect your work surface and ensure clean cuts with a dedicated cutting mat.
- Mallet: A rubber mallet is used for setting rivets and hammering tools.
- Edging Tools: Tools like slickers and edge bevelers help create smooth and finished leather edges.
- Wing dividers: This tool helps mark even spacing for holes.
- Awl: An awl is used to create holes for stitching and rivets.
- Leather Needles: Specific leather needles are required for sewing through leather.
- Sewing Machine (Optional): While hand stitching is traditional, a sewing machine capable of handling leather can expedite the sewing process.
- Thread: Choose a strong and thick thread specifically designed for leatherwork.
- Wax: Apply a coat of beeswax to your thread to increase strength and durability.
- Rivet Setter (Optional): If your design incorporates rivets, you’ll need a setter to secure them in place.
- Glue (Optional): Leather glue can be helpful for adhering certain elements or reinforcing seams.
- Clamps: Clamps can hold leather pieces in place while gluing or sewing.
- Pattern (Optional): While you can freehand your bag design, using a leather shoulder bag pattern can provide a helpful guide for beginners.
Choosing Your Leather Shoulder Bag Design
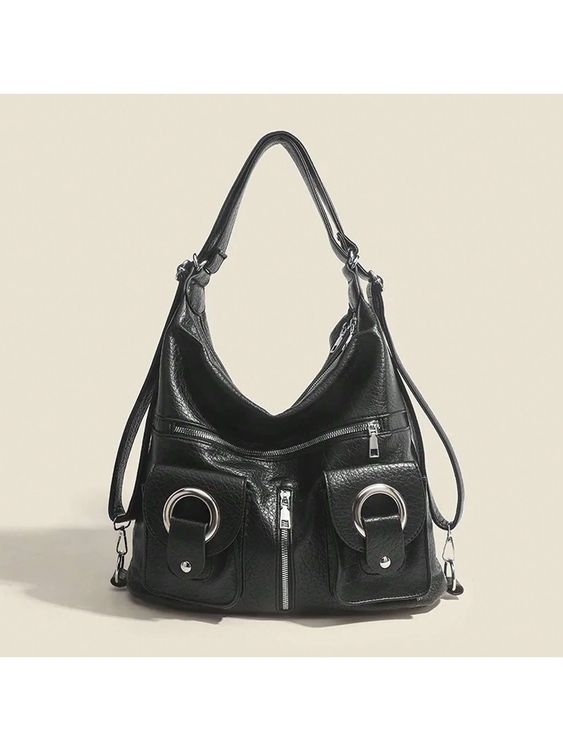
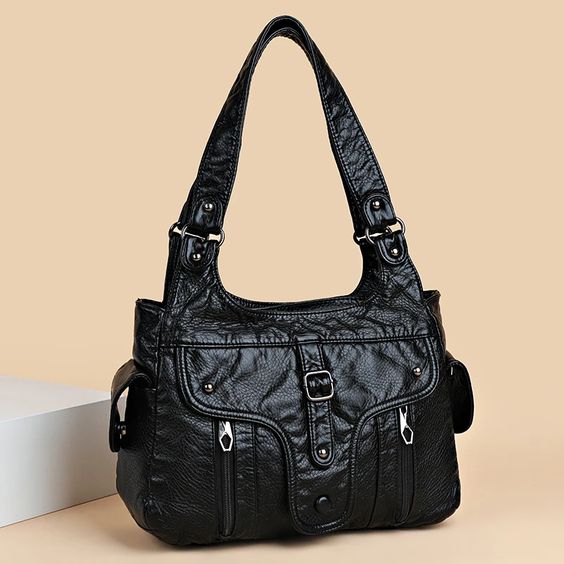
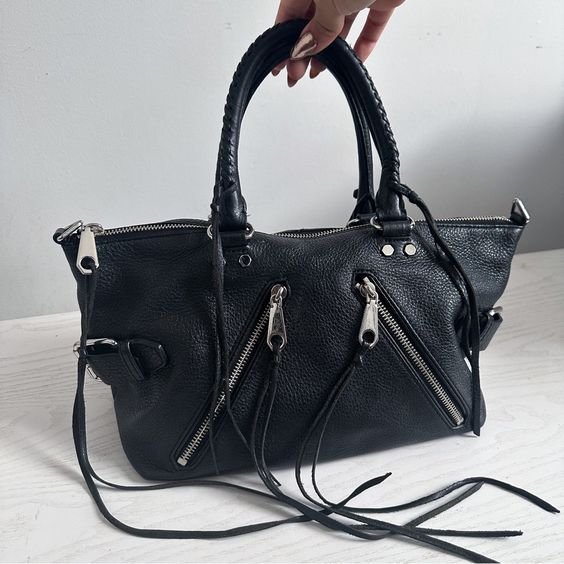
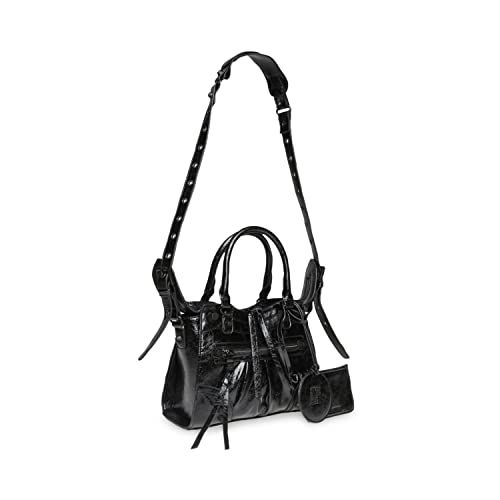
The beauty of crafting your own leather bag lies in the limitless design possibilities. Here are some popular leather shoulder bag styles to spark your inspiration:
- Tote Bag: A timeless and versatile option, perfect for everyday use.
- Satchel Bag: Structured and sophisticated, featuring a flap closure.
- Bucket Bag: A trendy choice with a drawstring closure.
- Crossbody Bag: Convenient and hands-free, ideal for carrying essentials.
- Messenger Bag: Offers a larger capacity, perfect for work or school.
For your first leather bag project, consider starting with a simple tote bag design. It’s a great way to learn the fundamental leatherworking techniques and allows for easy customization with pockets, closures, and embellishments.
Finding a Leather Shoulder Bag Pattern (or Designing Your Own)
Once you’ve chosen your bag style, a pattern can guide you through the cutting and sewing process. There are several ways to acquire a leather bag pattern:
- Free Online Patterns: Numerous websites offer free leather shoulder bag patterns in various styles and difficulty levels.
- Leathercraft Books and Magazines: Many leatherwork resources include patterns for shoulder bags.
- Paid PDF Patterns: Paid patterns often come with detailed instructions, multiple size options, and bonus features like pockets and closures.
- Drafting Your Own Pattern: For experienced leatherworkers, drafting your own pattern allows for complete design control.
Cutting Your Leather Pieces
With your pattern in hand, carefully cut out the leather pieces according to the instructions. Pay close attention to seam allowances and markings on the pattern. Here are some additional tips for accurate leather cutting:
- Use a sharp rotary cutter and a dedicated cutting mat to ensure clean and precise cuts.
- Double-check the pattern markings before cutting your leather.
- Cut all pieces from your chosen leather.
- When using a template, trace the pattern markings onto the backside of the leather with a leather marking pen or blunt tool to avoid damaging the surface.
- It’s always better to err on the side of caution and cut slightly larger than the markings. You can always trim away excess leather later, but you can’t add material back on.
Preparing and Finishing the Leather Edges
Unlike fabric, raw leather edges can appear unfinished and rough. Here’s how to create smooth and professional-looking edges for your leather shoulder bag:
- Tooling the Edges (Optional): For a more polished look, use leather edging tools like bevelers and slickers to create a defined edge.
- Sanding: Lightly sand the leather edges with fine-grit sandpaper to remove any imperfections or burs.
- Burnishing (Optional): Burnishing involves applying a leather burnishing agent and buffing the edges to create a smooth, glossy finish. This step is especially effective for vegetable-tanned leather.
- Edge Painting (Optional): For a touch of personalization, you can use leather edge paint to dye the edges a contrasting color.
Assembling the Leather Shoulder Bag Body
Now comes the exciting part – putting the pieces of your leather shoulder bag together! Here’s a general overview of the construction process for a basic tote bag:
- Mark Hole Locations: Using your wing dividers or a template, carefully mark the locations for stitching holes on all the leather pieces that will be sewn together.
- Punch Holes: Using an awl or punch tool, create holes at the marked locations. Ensure consistent spacing and hole size for easier stitching.
- Apply Leather Cement (Optional): For added stability, you can apply a thin layer of leather cement to the seam allowances before stitching.
- Hand Stitching or Machine Sewing: Using a saddle stitch or another leatherworking stitch, sew the pieces together according to your pattern. If using a sewing machine, ensure it’s capable of handling leather and adjust the stitch length accordingly.
Attaching the Lining (Optional)
While a lining isn’t strictly necessary for a simple tote bag, it adds a touch of polish and protects the contents of your bag. Here’s how to incorporate a lining:
- Cut Lining Pieces: Using your leather bag pattern as a guide, or by measuring the assembled leather body, cut lining pieces from fabric.
- Construct the Lining: Sew the lining pieces together according to your pattern or design. If desired, you can add interior pockets or compartments to the lining.
- Attaching the Lining: With the right sides facing each other, pin the lining to the top edge of the leather bag body. Sew them together using a topstitch, encasing the raw edges and creating a clean finish.
Adding Straps, Closures, and Embellishments
With the core structure complete, it’s time to personalize your leather shoulder bag with straps, closures, and other creative touches:
- Straps: You can purchase pre-made leather straps or cut your own from suitable leather. Experiment with different widths and lengths to achieve the desired look and comfort.
- Attaching Straps: Secure the straps to the bag body by riveting or sewing them to the top corners or sides, depending on your design.
- Closures: Consider incorporating a zipper, snaps, or a buckle closure for added security.
- Embellishments: Unleash your creativity! Here are some ideas to personalize your bag:
- Add decorative stitching patterns.
- Use leather stamps to create designs or logos.
- Incorporate rivets or clasps for a touch of hardware.
- Attach pockets or key fobs for functionality.
The Finishing Touches and Beyond
The final step involves adding those finishing touches that elevate your handmade leather shoulder bag from simply functional to a true work of art:
- Conditioning: Apply a leather conditioner to protect and nourish the leather, enhancing its longevity and beauty.
- Buffing: Buff the leather with a soft cloth to bring out its natural shine.
- Standing Proud: Fill your handcrafted leather shoulder bag with pride! You’ve created a unique and functional piece that speaks to your style and skills.
Remember, leatherworking is a journey of continuous learning and refinement. With practice, you can develop your skills and create even more intricate and personalized leather bags.
So, are you ready to embark on your leathercrafting adventure?