Ever craved a one-of-a-kind bag that reflects your unique style? Sewing your own over-the-shoulder bag is a fantastic way to express yourself and create a practical accessory you’ll love. Don’t worry if you’re a sewing novice – this guide will walk you through everything you need to know, from gathering materials to proudly sporting your finished creation.
Preparing for Takeoff: Essential Supplies and Choosing Your Perfect Shoulder Bag
Before diving into the sewing fun, let’s get organized. Here’s a list of essential supplies you’ll need:
- Fabric: The foundation of your bag! Choose woven fabrics like cotton canvas, denim, or corduroy for durability. Consider quilting cotton for lighter bags.
- Lining Fabric: Opt for a lightweight fabric like cotton voile or lining fabric for a polished interior.
- Fusible Interfacing (Optional): Adds structure and stability, especially for softer fabrics.
- Scissors: Pinking shears are great for preventing fraying on some fabrics.
- Sewing Machine: A basic sewing machine with a straight stitch and zigzag stitch will do the trick.
- Thread: Choose a thread color that complements your fabric.
- Sewing Needles: Universal needles work well for most woven fabrics.
- Pins or Fabric Clips: Keep your fabric secured while sewing.
- Ruler and Rotary Cutter (Optional): Ensures precise measurements and cutting.
- Iron and Ironing Board: Pressing seams flat creates a professional finish.
- Bag Pattern (Optional): Many free or paid patterns are available online, offering different styles and sizes.
Choosing Your Dream Bag:
Now for the exciting part – picking your shoulder bag design! Here are some popular over-the-shoulder bag styles to consider:
- Tote Bag: A classic and versatile choice, perfect for everyday essentials.
- Bucket Bag: A stylish and trendy option with a drawstring closure.
- Messenger Bag: Features a flap closure and often has additional pockets for organization.
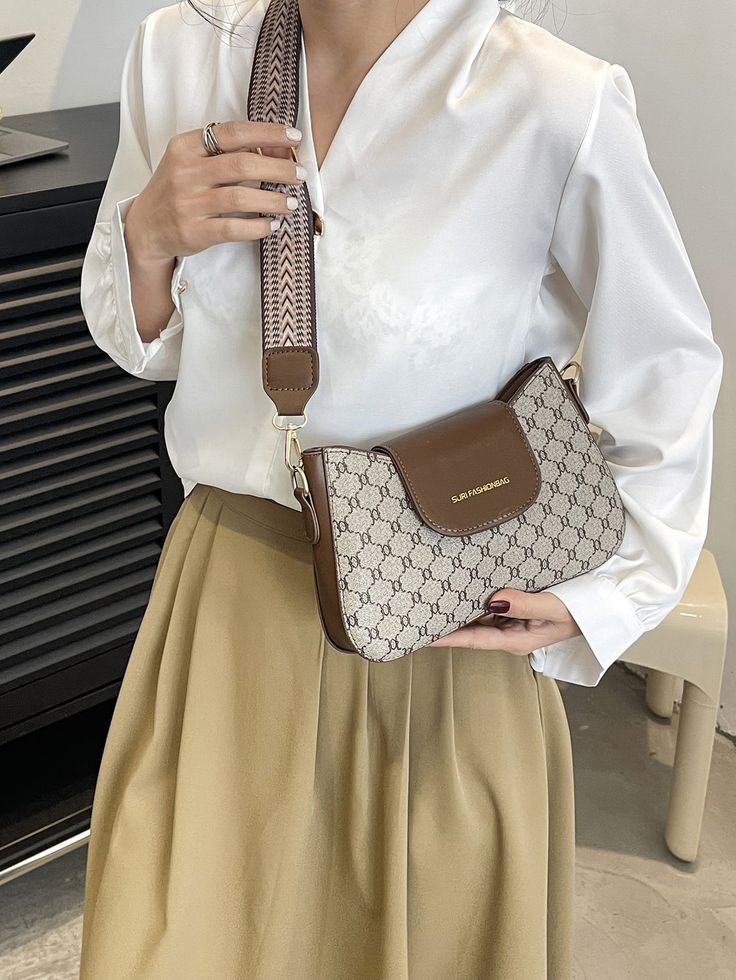
- Satchel Bag: Offers a structured silhouette with a top flap closure.
Once you’ve settled on your fabric, lining, and bag style, it’s time to move on to the exciting part – sewing!
Pattern Power: Creating Your Bag’s Blueprint (Optional)
While using a pre-made bag pattern is a great option, especially for beginners, you can also design your own. Here’s a basic approach to get you started:
- Measure Up: Decide on your desired bag size – height, width, and depth.
- Drafting the Pattern Pieces: On paper, draw rectangles for the main body of the bag, lining pieces, and strap pieces according to your measurements. Don’t forget to factor in seam allowances (usually around ½ inch).
- Adding Details (Optional): Consider pockets, flaps, or gussets (triangular pieces at the bottom for more space) for additional functionality and style.
Remember, this is just a starting point! Feel free to experiment and customize your pattern to match your vision.
Fabric Fun: Cutting Out Your Shoulder Bag Pieces
With your pattern or measurements in hand, it’s time to cut your fabric:
- Iron your fabric: This ensures smooth cutting and prevents stretching.
- Lay out your fabric: Double or fold your fabric if your pattern requires two pieces for each section (e.g., the bag’s exterior and lining).
- Pin the pattern to the fabric: Secure it with pins to prevent shifting while cutting.
- Cut carefully: Use sharp scissors or a rotary cutter to precisely cut out your bag pieces based on your pattern or measurements.
Pro Tip: If your fabric frays easily, consider using pinking shears or applying fray check along the cut edges before proceeding.
Constructing the Core: Sewing the Bag Body
Now that your fabric pieces are prepped, let’s start assembling your bag!
- Main Body Construction: Place the right sides of your outer fabric pieces together (the pretty sides facing each other). Pin them along the sides and bottom edges, leaving the top open for now.
- Sewing the Seams: Using a straight stitch on your sewing machine, sew along the pinned edges with a ½ inch seam allowance. Backstitch at the beginning and end for reinforcement.
- Clipping Curves (Optional): If your bag design has curved corners, clip small notches into the seam allowance at the curves to prevent bulkiness when turning the bag right side out.
Pockets of Possibility: Adding Functional Flair (Optional)
Pockets are a great way to add functionality and organization to your bag. Here’s a basic approach:
- Design your Pocket: Decide on the pocket size, placement, and style (patch pocket, welt pocket, etc.).
- Cut the Fabric: Cut out your pocket pieces according to your design.
- Assemble the Pocket: Following sewing techniques similar to the bag body construction, sew the pocket pieces together.
- Attaching the Pocket: Pin the pocket to the desired location on your bag’s outer fabric (before attaching the lining). Sew the pocket in place using a straight stitch or topstitch for a decorative touch.
Beyond Basic Pockets:
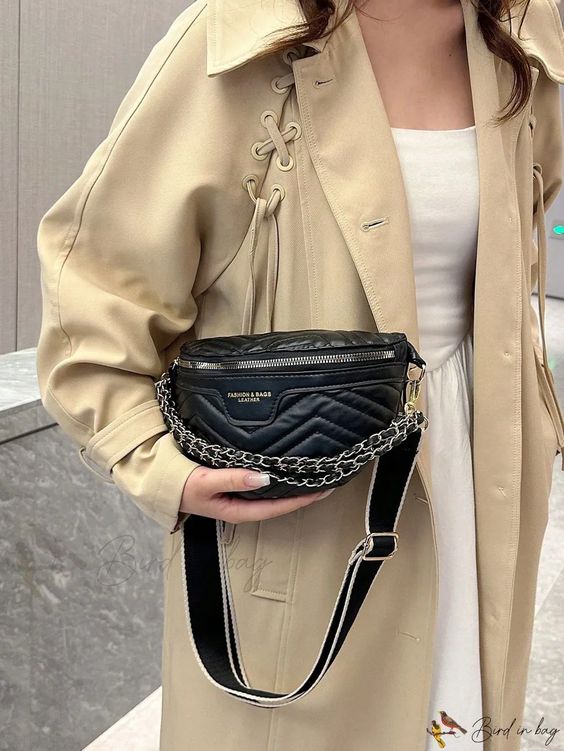
- Zippered Pockets: Add a touch of security with zippered pockets. Purchase pre-made zipper closures and follow instructions for incorporating them into your pocket design.
- Slip Pockets: Simple and functional, perfect for storing smaller items. Create a pocket by sewing a rectangle of fabric onto the inside of your bag lining.
The Final Flourish: Adding Style and Personalization
Now comes the fun part – personalize your bag and make it truly your own! Here are some inspiring ideas:

- Embellishments: Buttons, ribbons, appliques, or embroidery can add a unique touch.
- Contrasting Fabrics: Combine different colors or patterns for a bold statement.
- Lining Flair: Use a patterned lining fabric for a peek-a-boo surprise when you open your shoulder bag.
- Labels and Tags: Sew on a handmade label or tag with your name or a personal message.
Embrace your creativity and let your personality shine through!
Carry Your Creation with Confidence: Time to Flaunt Your New Shoulder Bag!
Congratulations! You’ve successfully sewn your very own over-the-shoulder bag. Take a moment to admire your handiwork – you’ve transformed fabric into a beautiful and functional accessory.
Flaunt your creation with confidence! This shoulder bag is not only stylish but also speaks volumes about your creativity and resourcefulness. Use it every day, fill it with your treasures, and enjoy the satisfaction of carrying a one-of-a-kind piece you made yourself.