Crocheting a shoulder bag is an exciting and rewarding project, perfect for beginners eager to create a stylish and functional accessory. This guide will walk you through the steps of crafting your first crochet shoulder bag, from choosing the right yarn and hook to mastering essential stitches and assembling your bag. Whether you’re a complete novice or have some crochet experience, you’ll find valuable tips and tricks throughout this tutorial.
Choosing Your Supplies
Before diving into the crochet process, it’s essential to gather the right materials.
- Yarn: Opt for a beginner-friendly yarn with a medium-weight or worsted weight. Acrylic yarn is a popular choice for its affordability and durability. Consider the desired look and feel of your bag when selecting a color.
- Crochet Hook: The size of your crochet hook should match the recommended hook size for your chosen yarn. A hook that’s too small will make your stitches tight, while a hook that’s too large will create loose stitches.
- Tapestry Needle: This tool is essential for weaving in loose ends and attaching handles or straps.
- Scissors: For cutting yarn and trimming excess threads.
- Stitch Markers: Optional but helpful for keeping track of your stitches, especially when working in rounds.
Basic Crochet Stitches
To create your shoulder bag, you’ll need to master a few fundamental crochet stitches:
- Chain Stitch (ch): The foundation of all crochet projects.
- Slip Stitch (sl st): Used to join rounds and create a neat finish.
- Single Crochet (sc): A basic stitch that creates a dense fabric.
- Half Double Crochet (hdc): Creates a slightly taller stitch than single crochet.
- Double Crochet (dc): Creates an even taller stitch for a more open fabric.
Crochet Shoulder Bag Pattern
Note: The following pattern is a basic outline. You can customize it by adjusting the size, shape, and stitch combinations to suit your preferences.
Bag Body
- Foundation Chain: Chain a number of stitches based on your desired bag width.
- Row 1: Single crochet in the second chain from the hook and in each subsequent chain.
- Rows 2-desired height: Continue single crocheting, adding or decreasing stitches as needed to shape the bag body.
- Finishing: Finish off the last row with a row of slip stitches to create a neat edge.
Bag Straps
- Foundation Chain: Chain a long chain for the desired strap length.
- Rows: Single crochet back and forth until the desired strap width is reached.
- Finishing: Finish off with a row of slip stitches and fasten off.
Assembling the Bag
- Attach Straps: Attach the straps to the top of the bag using slip stitches or by weaving them through the top row of stitches.
- Handle (Optional): If desired, create handles using the same techniques as the straps and attach them to the sides of the bag.
- Lining (Optional): For a finished look, sew a fabric lining to the inside of the bag.
Tips for Crochet Beginners
- Gauge: Crochet a small swatch to check your stitch tension and ensure your project matches the pattern’s measurements.
- Row Counting: Use stitch markers to keep track of your rows and prevent mistakes.
- Tension: Maintain consistent tension throughout your project for even stitches.
- Practice: The more you crochet, the better you’ll become. Don’t be afraid to experiment with different stitches and patterns.
Customizing Your Crochet Shoulder Bag
To make your crochet shoulder bag truly unique, consider adding personal touches and customizations. Here are some ideas to inspire your creativity:
Embellishments
- Tassels: Add playful tassels to the bottom of the bag or the ends of the straps.
- Flowers: Crochet or sew on floral appliqués for a feminine touch.
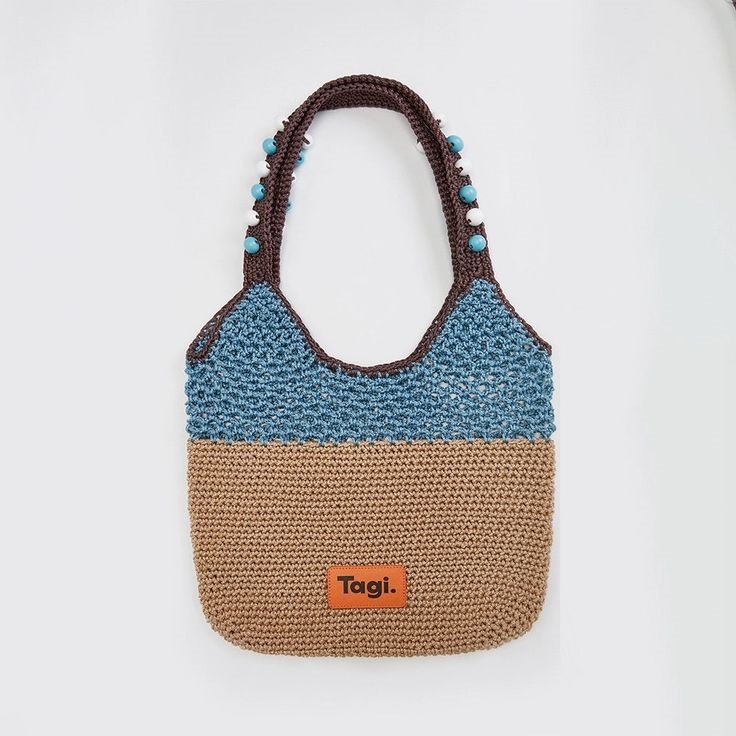
- Beads and Sequins: Incorporate beads and sequins into your crochet stitches or attach them as embellishments.
- Pom-poms: Create colorful pom-poms and attach them to the bag or straps.
Bag Shapes
While a rectangular bag is a classic choice, explore different shapes to create a unique look.
- Round bag: Crochet a circular base and gradually increase stitches to form the bag body.
- Triangle bag: Experiment with decreasing stitches to create a triangular shape.
- Trapezoid bag: Combine increasing and decreasing stitches to achieve a trapezoid silhouette.
Handles and Straps
Vary the handle and strap styles to change the bag’s overall appearance.
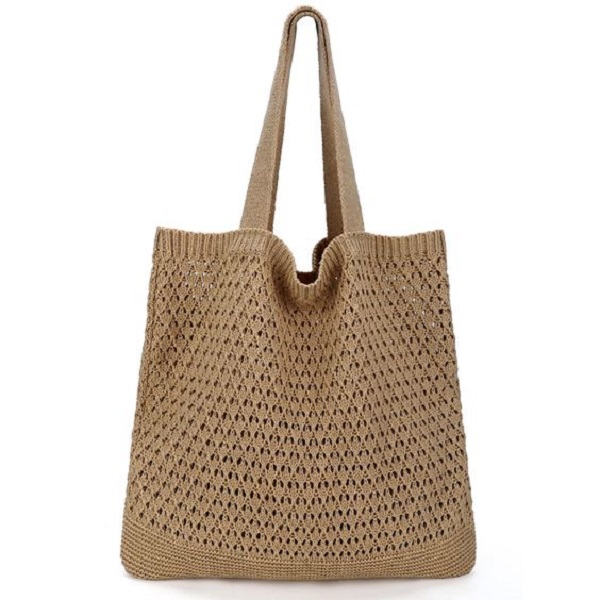
- Thick handles: Crochet wider straps for a bohemian look.
- Chain handles: Combine crochet and chain links for a modern twist.
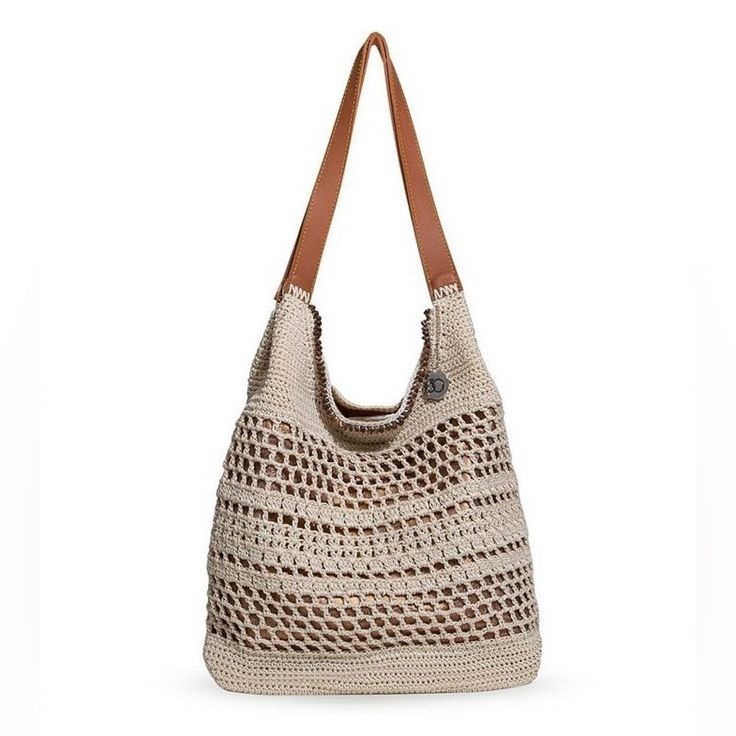
- Leather or fabric straps: Incorporate leather or fabric straps for a mixed-media design.
Lining and Closure
Adding a lining and closure can enhance the functionality and appearance of your bag.
- Fabric lining: Choose a coordinating fabric to line the inside of the bag.
- Magnetic closure: Install a magnetic snap for easy opening and closing.
- Zipper closure: Add a zipper for added security.
Crochet Techniques
Experiment with different crochet techniques to add texture and interest to your bag.
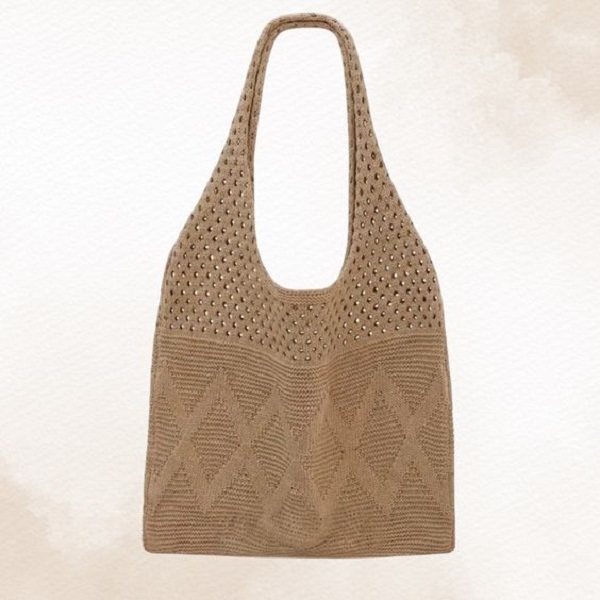
- Post stitches: Create raised designs and patterns with post stitches.
- Tunisian crochet: Explore this unique technique for creating fabric with a different texture.
- Filet crochet: Create intricate patterns and designs using the filet crochet method.
By incorporating these customization ideas, you can create a one-of-a-kind crochet shoulder bag that reflects your personal style and creativity.
Choosing the Right Yarn and Hook
Selecting the appropriate yarn and crochet hook is crucial for achieving the desired look and feel of your crochet shoulder bag.
Yarn Selection
The type of yarn you choose will significantly impact the texture, weight, and overall appearance of your bag. Consider the following factors:
- Fiber content: Cotton, acrylic, and wool are common choices for crochet bags. Cotton is breathable and durable, while acrylic is affordable and easy to care for. Wool offers warmth and softness.
- Weight: Yarn weight determines the thickness of the yarn. For a shoulder bag, medium-weight (worsted) or bulky weight yarn is often suitable.
- Color: Choose a color that complements your personal style and the overall aesthetic of the bag.
Crochet Hook Selection
The size of your crochet hook should correspond to the recommended hook size for your chosen yarn. Using the correct hook size ensures consistent stitch tension and prevents frustration.
- Hook material: Aluminum, bamboo, and plastic are popular hook materials. Each has its own benefits, such as durability, grip, and flexibility.
- Hook size: Refer to the yarn label for the recommended hook size. Experiment with different hook sizes to achieve your desired stitch tightness.
Common Yarn and Hook Combinations
Here are some popular yarn and hook combinations for crochet shoulder bags:
- Cotton yarn with a 5.0mm hook: Creates a sturdy and durable bag with a classic look.
- Acrylic yarn with a 5.5mm hook: Offers a versatile option for various bag styles.
- Bulky wool yarn with a 6.0mm hook: Perfect for creating a chunky and textured bag.
By carefully selecting your yarn and hook, you’ll lay the foundation for a successful crochet shoulder bag project.
Your Crochet Journey Begins
Crocheting a shoulder bag is more than just a craft project; it’s a journey of creativity and self-expression. By mastering basic stitches, experimenting with different yarns and hooks, and adding your unique flair, you can create a one-of-a-kind accessory that reflects your personal style.
Remember, every stitch you make brings you closer to completing your masterpiece. Don’t be afraid to make mistakes – they’re a natural part of the learning process. Embrace the joy of creating something with your own hands, and share your finished bag with the world!