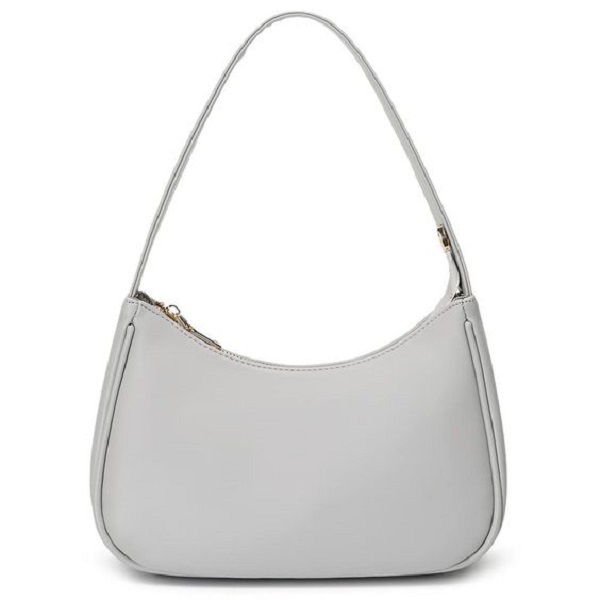
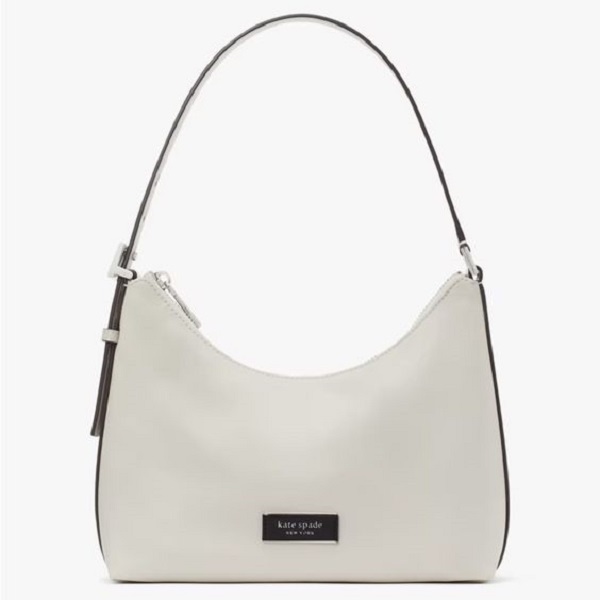
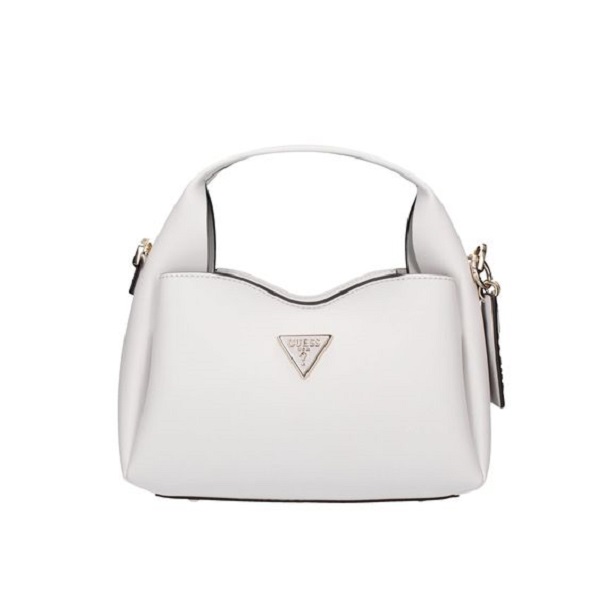
Shoulder bags are a timeless fashion staple, offering a blend of practicality and style. They’re perfect for everyday errands, day trips, or adding a touch of personality to your outfit. But why settle for mass-produced designs when you can create a unique shoulder bag that reflects your individual taste?
This comprehensive guide empowers you to embark on a fun and rewarding journey of crafting your very own shoulder bag. We’ll delve into the essential steps involved, from selecting materials and choosing a pattern to sewing techniques and adding finishing touches.
Choosing the Perfect Materials: Building Your Bag’s Foundation
The foundation of your shoulder bag lies in the materials you select. Here’s a breakdown of key elements to consider:
- Fabric:
- Outer Fabric: The outer fabric is the most visible part of your bag, so choose something that complements your style. Popular options include canvas, denim, cotton twill, or faux leather. Consider factors like weight, durability, and water resistance depending on your desired bag functionality.
- Lining Fabric: Lining fabric adds structure and a finished look to the inside of your bag. Opt for lightweight woven fabrics like cotton or linen.
- Interfacing: Interfacing adds stability and helps the bag retain its shape. Fusible interfacing bonds to fabric with heat, while non-fusible interfacing requires sewing for attachment. Choose the type that best suits your project and skill level.
- Hardware: Select hardware components that match your bag’s style and functionality. Common hardware includes zippers, buckles, clasps, D-rings, and rivets. Ensure the hardware size and weight are compatible with the chosen fabric.
Finding Your Perfect Match: Selecting a Shoulder Bag Pattern
With a vast array of shoulder bag patterns available, selecting the right one can feel overwhelming. Here are some pointers to guide you:
- Skill Level: Be honest about your sewing experience. Choose a beginner-friendly pattern with clear instructions if you’re new to sewing. More intricate patterns with complex features might be better suited for experienced sewers.
- Style Preferences: Do you envision a sleek, minimalist bag or a roomy tote? Consider your desired size, number of compartments, and closure type (zipper, flap, clasp) when selecting a pattern.
- Online Resources: A plethora of free and paid shoulder bag sewing patterns are available online. Explore websites like Etsy, Pinterest, and sewing blogs to discover a variety of styles and difficulty levels.
- Pattern Reviews: Reading reviews from other sewists who have used the pattern can provide valuable insights into its clarity, ease of use, and any potential challenges.
Essential Tools for the Job: Gathering Your Sewing Supplies
Once you’ve chosen your materials and pattern, gather the necessary sewing tools to bring your bag to life:
- Sewing Machine: A basic sewing machine is essential for constructing the bag.
- Thread: Select thread that complements the color and weight of your fabric.
- Scissors: Sharp fabric scissors and paper scissors are crucial for precise cutting.
- Rotary Cutter (Optional): A rotary cutter and mat can expedite fabric cutting, especially for larger projects.
- Pins and Fabric Clips: Pins hold fabric layers together for sewing, while fabric clips offer a hands-free alternative.
- Measuring Tape: Ensure accurate measurements for a well-constructed bag.
- Seam Ripper (Optional): A seam ripper helps remove stitches for correcting mistakes.
- Iron and Ironing Board: Ironing seams flat creates a professional finish.
Sewing Techniques 101: Mastering the Basics
Before diving into your shoulder bag project, brushing up on some fundamental sewing techniques can ensure successful construction. Here are some key skills to practice:
- Straight Stitching: This is the most common sewing technique used to join fabric pieces together.
- Piecing: Piecing involves sewing multiple fabric pieces together to create a larger piece or a pattern.
- Clipping Curves: When sewing curved seams, clip small notches into the seam allowance to prevent fabric bunching.
- Pressing Seams: Ironing seams open after sewing flattens them and creates a crisp finish.
- Backstitching: Backstitching secures the beginning and end of your stitches to prevent unraveling.
- Topstitching (Optional): Topstitching adds a decorative element and reinforces seams.
For more in-depth explanations and visual references, consider consulting sewing tutorials online or in sewing books.
Unveiling Your Creation: Embrace Your Personal Style
Congratulations! You’ve successfully handcrafted your very own shoulder bag. Now comes the fun part – personalizing it to reflect your unique style. Here are some ideas to spark your creativity:
- Fabric Choices: The beauty of DIY projects lies in complete creative control. Explore a variety of fabrics and patterns to express your personality. From bold florals to classic stripes or quirky prints, the possibilities are endless.
- Hardware Selection: Hardware plays a significant role in both functionality and aesthetics. Choose hardware that complements your fabric choices and enhances the overall look of your bag. Consider metallic finishes, colorful options, or unique shapes for added flair.
- Embellishments: Don’t be afraid to add a personal touch with embellishments like buttons, embroidery, appliqués, or even hand-painted designs. Let your creativity run wild and create a bag that’s truly one-of-a-kind.
Beyond the Basics: Exploring Advanced Techniques
As you gain experience and confidence in your sewing skills, you can delve into more advanced techniques to elevate your bag-making projects:
- Zipper Closures: Mastering zipper installation can open doors to creating bags with various closure options.
- Lining with Pockets: Adding pockets to your bag’s lining increases functionality and organization.
- Padded Straps: For enhanced comfort, incorporate padding into your bag straps.
- Bag Liners: Create removable bag liners for easy cleaning and added structure.
There’s a wealth of online resources and sewing books dedicated to bag-making techniques. Explore these resources to expand your skillset and create even more stunning and functional shoulder bags.
Troubleshooting Tips: Sewing Mishaps and Solutions
Even the most seasoned sewists encounter mishaps from time to time. Here are some common sewing problems you might face while crafting your shoulder bag, along with solutions to get you back on track:
- Uneven Seams: If your seams appear uneven, it might be due to inconsistent fabric feeding or pressing. Ensure you’re guiding the fabric evenly while sewing and press seams flat after stitching.
- Missed Stitches: Missed stitches occur when the needle doesn’t fully penetrate both layers of fabric. Check your threading (ensure the needle is threaded correctly and the tension is appropriate) and re-sew the missed section.
- Fabric Bunching: Fabric bunching often happens around curves. Clip small notches into the seam allowance before sewing curved seams to prevent this issue.
- Broken Needle: Needles can break due to dullness or hitting a pin. Always have spare needles on hand and replace a bent or broken needle immediately.
- Wrong Thread Color: Double-check the thread color matches your fabric choices before sewing. If you use the wrong color, you might need to unpick the stitches and resew with the correct thread.
- Sewing Through Your Fingers (OOPS!): It happens! If you accidentally sew through your finger, use sharp scissors to carefully snip the thread between your finger and the fabric. Apply a cold compress to reduce swelling and seek medical attention if necessary.
Remember: Sewing is a skill that develops with practice. Don’t be discouraged by minor setbacks. Take your time, be patient, and learn from your mistakes.
Craft Your Confidence: Dive into the World of DIY Shoulder Bag
Creating your own shoulder bag is a rewarding and empowering experience. It allows you to express your individuality, develop valuable sewing skills, and end up with a one-of-a-kind accessory that reflects your unique taste.
So, grab your fabric, thread your needle, and embark on this exciting journey of crafting your very own shoulder bag! With dedication, practice, and the guidance provided in this comprehensive guide, you’ll be well on your way to becoming a skilled bag-maker in no time.