Ever craved a shoulder bag that perfectly complements your style? Tired of mass-produced options that lack personality? Sewing your own shoulder bag is a fulfilling and rewarding experience, allowing you to customize every detail and create a one-of-a-kind accessory.
This comprehensive guide will equip you with the knowledge and skills to sew a beautiful shoulder bag, even if you’re a beginner. We’ll break down the process into easy-to-follow steps, explore various design options, and offer troubleshooting tips to ensure your project is a success.
So, grab your sewing supplies, unleash your creativity, and get ready to embark on a fun and rewarding journey!
Gathering Your Supplies
Before diving into the sewing process, it’s crucial to gather all the necessary materials. Here’s a basic list to get you started:
- Fabric: Choose fabric that suits your style and the bag’s intended use. Canvas, cotton twill, and denim are popular options for everyday bags, while faux leather or cork can add a touch of sophistication.
- Lining Fabric: Opt for a lightweight fabric like cotton or quilting cotton for the lining.
- Interfacing: Consider using interfacing to add structure and stability to your bag, especially for heavier fabrics.
- Thread: Choose thread that complements the color of your fabric.
- Sewing Machine: A basic sewing machine is perfect for this project.
- Scissors: Fabric shears or pinking shears will ensure clean cuts.
- Pins: Straight pins will help hold your fabric pieces in place while sewing.
- Seam Ripper: A seam ripper is handy for correcting mistakes.
- Measuring Tape: A measuring tape is essential for accurate cutting.
- Iron: An iron is useful for pressing seams flat.
- Optional: Depending on your design, you might need zippers, buttons, rivets, or bag handles.
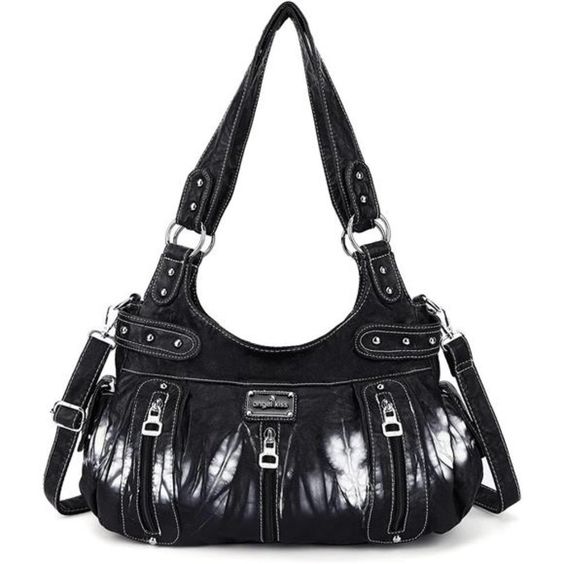
Choosing Your Bag Design
The beauty of sewing your own bag lies in the endless design possibilities. Here are some popular shoulder bag styles to spark your inspiration:
- Tote Bag: A classic and versatile option, perfect for everyday use.
- Satchel Bag: Structured and stylish, with a flap closure.
- Bucket Bag: A trendy option featuring a drawstring closure.
- Crossbody Bag: Convenient and hands-free, ideal for carrying essentials.
- Messenger Bag: Offers a larger capacity, perfect for work or school.
For your first project, consider starting with a simple tote bag design. It’s a great way to learn the basic construction techniques and can be easily customized with pockets, closures, and embellishments.
Finding a Shoulder Bag Pattern (or Making Your Own)
Once you’ve chosen your bag style, you’ll need a pattern to guide you through the cutting and sewing process. There are several ways to acquire a pattern:
- Free Online Patterns: Numerous websites offer free shoulder bag sewing patterns in various styles and difficulty levels.
- Sewing Books and Magazines: Many sewing resources include patterns for shoulder bags.
- Paid PDF Patterns: Paid patterns often come with detailed instructions, multiple size options, and bonus features like pockets and closures.
- Drafting Your Own Pattern: For experienced sewers, drafting your own pattern allows for complete design control.
Cutting Your Fabric Pieces
With your pattern in hand, carefully cut out the fabric pieces according to the instructions. Pay close attention to seam allowances and markings on the pattern. Here are some tips for accurate cutting:
- Use a sharp rotary cutter and cutting mat for precise cuts.
- Double-check the pattern markings before cutting.
- Cut all pieces from the main fabric, lining fabric, and interfacing (if using).
- Don’t forget to factor in seam allowances when cutting your fabric pieces.
Constructing the Bag Body
Now comes the exciting part – assembling your bag! Here’s a general overview of the construction process for a basic tote bag:
- Attach Interfacing (Optional): If using interfacing, iron it onto the wrong side of your main fabric pieces according to the manufacturer’s instructions.
- Construct the Lining: Sew the lining pieces together according to the pattern instructions.
- Create Pockets (Optional): If you’re adding pockets, sew them onto the lining pieces before attaching the lining to the bag body.
- Assemble the Bag Body: Pin the main fabric pieces right sides together and sew the sides and bottom seams according to the pattern.
- Attach the Lining: With the bag body right side out, place the lining inside, aligning the raw edges at the top. Pin the lining in place all around the top opening.
- Create the Top Edge: Sew a topstitch around the top edge of the bag, catching the lining in the seam. This will enclose the raw edges and create a clean finish.
Adding Straps and Finishing Touches
With the core structure complete, it’s time to personalize your bag with straps and other embellishments:
- Straps: There are various ways to create straps. You can use pre-made straps, cut strips of fabric and sew them yourself, or even repurpose a belt.
- Attaching Straps: Secure the straps to the bag body by sewing them to the top corners or sides, depending on the desired look.
- Closures: Consider adding a zipper, snaps, or a magnetic closure for extra security.
- Embellishments: Unleash your creativity! Add pockets, buttons, rivets, or decorative stitching to personalize your bag.
Troubleshooting Tips
Even the most experienced sewists encounter challenges. Here are some common troubleshooting tips for sewing a shoulder bag:
- Uneven Seams: Uneven seams can occur due to incorrect machine settings, uneven fabric feeding, or inaccurate pinning. Practice sewing straight lines on scrap fabric before starting your project.
- Bulky Corners: Bulky corners can be caused by excess fabric. Clip the corners diagonally before turning the bag right side out.
- Missed Stitches: Double-check your tension settings and needle size to ensure proper stitch formation.
- Ripped Fabric: Don’t panic! Use your seam ripper to carefully remove the stitches and resew the area.
Unleash Your Creativity and Make it Yours!
Sewing your own shoulder bag is an empowering and rewarding experience. Don’t be afraid to experiment with different fabrics, colors, and embellishments to create a bag that reflects your unique style.
Here are some inspiring ideas to take your bag-making journey to the next level:
- Use contrasting fabrics for the main body and lining.
- Add a fun applique or embroidery design.
- Incorporate different textures like leather or cork.
- Experiment with various pocket sizes and placements.
- Line your bag with a patterned fabric for a surprise peek inside.
The possibilities are endless! So, grab your sewing supplies, let your creativity flow, and embark on a delightful adventure in crafting your dream shoulder bag.