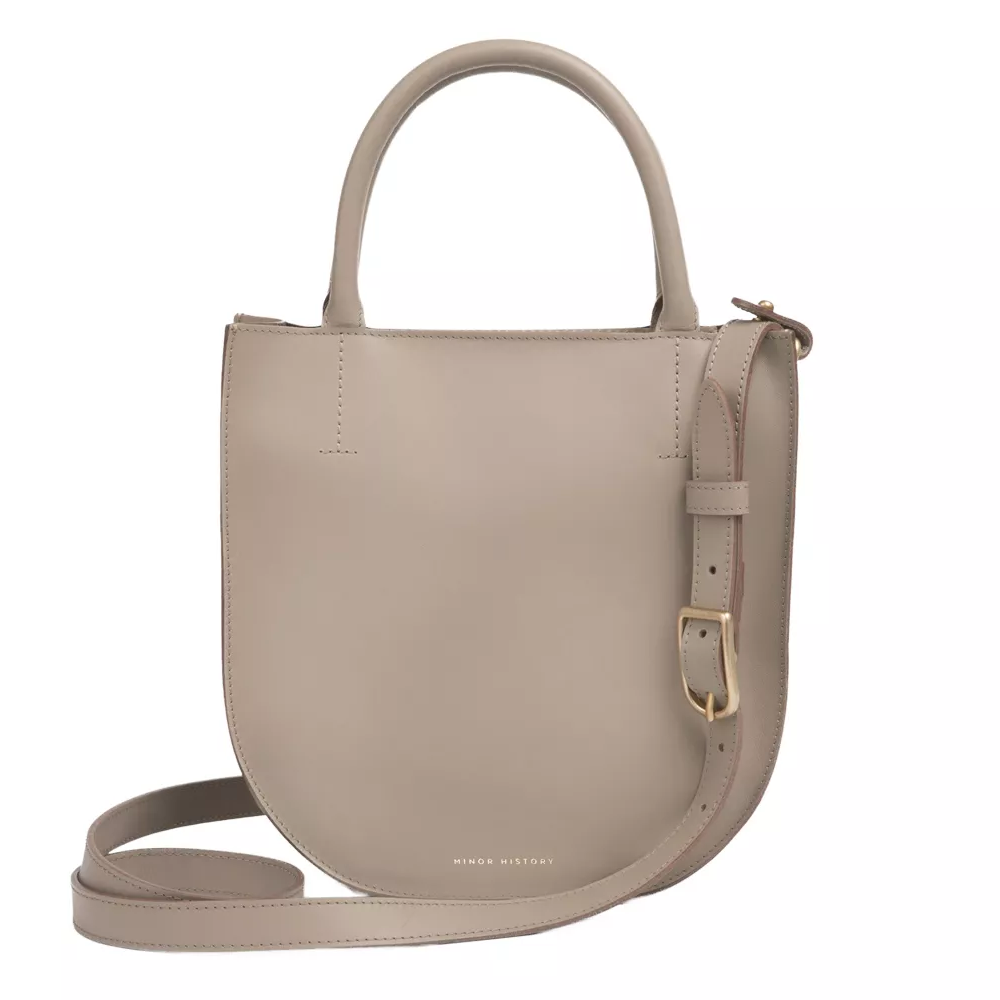
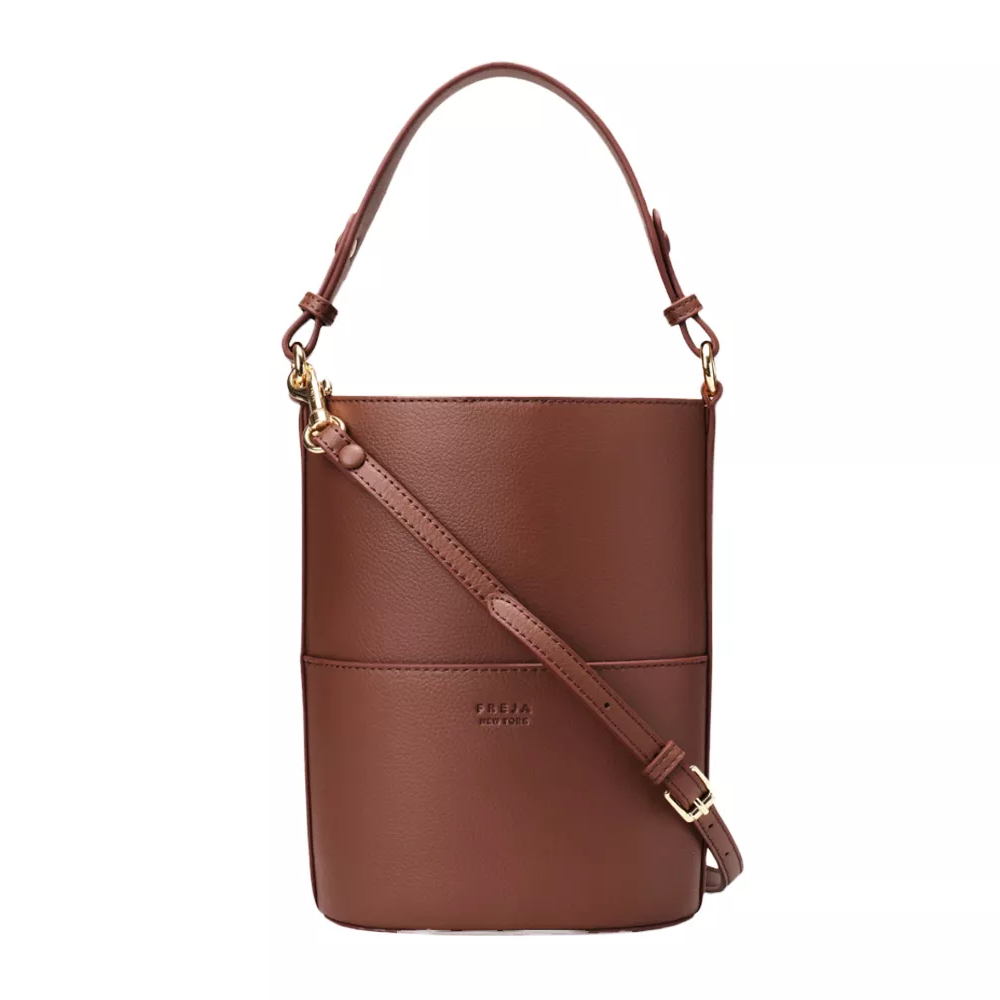
Crocheting has grown in popularity as a creative and fulfilling hobby, allowing crafters to produce beautiful handmade items that reflect their unique styles. Among the various pieces that can be created, a crossbody bag stands out for its practicality and trendy aesthetic. Learning how to crochet a crossbody bag not only enhances your crochet skills but also yields a functional accessory you can use every day. In this extensive guide, we will cover everything from selecting the right materials to step-by-step instructions on creating your own stylish crossbody bag. We will also explore different patterns and design ideas, enabling you to personalize your creation further. Whether you are a seasoned crocheter or just starting, this detailed exploration will equip you with the knowledge to craft the perfect crossbody bag for any occasion.

Understanding Crochet Basics
Before delving into the intricacies of how to crochet a crossbody bag, it’s essential to understand some basic crochet concepts.
What is Crochet?
Crochet is a method of creating fabric using a hooked needle and yarn. This craft allows for a variety of stitches, patterns, and textures resulting in a wide range of products, from clothing to accessories and home decor.
Essential Tools for Crocheting
- Crochet Hooks: These come in various sizes, and the choice of hook affects the tightness of your stitches. For crocheting a crossbody bag, a size H (5 mm) or I (5.5 mm) hook is typically ideal.
- Yarn: Choose yarn relevant to your project’s needs. Cotton or acrylic yarns are great for bags, as they are durable and easy to clean.
- Scissors: Essential for cutting yarn at the end of your project or when making adjustments.
- Tapestry Needle: This is used to weave in ends and sew pieces of the bag together.
- Measuring Tape: Helpful for ensuring that your bag meets desired dimensions.
Basic Crochet Stitches
- Chain Stitch (ch): The foundation for most crochet patterns.
- Slip Stitch (sl st): Used to join stitches and create smooth finishes.
- Single Crochet (sc): A standard stitch that forms a tight fabric.
- Double Crochet (dc): A taller stitch that contributes to a more open texture.
- Half Double Crochet (hdc): Falls between single and double crochet in terms of height.
Familiarizing yourself with these tools and stitches will set the stage for understanding how to crochet a crossbody bag.
Choosing the Right Materials
Selecting appropriate materials is crucial for creating a functional and stylish crossbody bag.
Selecting Yarn
- Type of Yarn: Opt for medium-weight yarn (worsted weight) for a balanced appearance and durability. Cotton yarn is an excellent choice due to its sturdy texture and washability.
- Color Preferences: Decide on colors that align with your style. Whether you prefer classic neutrals or vibrant hues, color selection can significantly impact the final look of your bag.

Picking a Hook
- Recommended Sizes: Refer to your yarn label for recommended hook sizes. If you’re using a specific pattern, follow the suggestions for optimal results.
Additional Materials
- Lining Fabric: Consider adding a fabric liner to your bag to improve durability and enhance aesthetics. Cotton or canvas fabrics work well for lining.
- Straps: Decide on straps—yarn straps can be crocheted or you may opt for pre-made leather or fabric straps for additional support.
By thoughtfully selecting your materials, you can create a polished crochet crossbody bag tailored to your individual taste and practicality.
Designing Your Crossbody Bag
Before you begin crocheting, sketching or conceptualizing your design can help bring your vision to life.
Determine the Dimensions
- Decide Size and Shape: Consider the intended use of the bag. Will it hold essentials like a phone and wallet, or do you want to accommodate larger items like books or tablets?
- Establish Measurements: Typical sizes for crossbody bags can range from 10″ x 12″ to 12″ x 14″, but remember to customize measurements according to your preferences.
Create a Design Sketch
- Sketch It Out: Draw your bag design, noting where colors and patterns will go. This visual reference will be beneficial throughout the crocheting process.
- Consider Closure Systems: Plan how you will close the bag—consider using a zipper, button, or magnetic snap for added functionality.
Select Patterns and Textures
- Simplicity vs. Complexity: Decide between a simple pattern for ease or integrating more complex stitches for texture—ribbing or granny squares can add unique appeal.
- Color Blocking: If using multiple colors, consider how they will flow throughout the design to create visual interest.
Having a clear design framework can simplify the crocheting process and ensure the result aligns with your vision.
Step-by-Step Instructions for Crocheting a Crossbody Bag
Now that you have the necessary tools and design, it’s time to get started on how to crochet a crossbody bag. Follow these detailed steps.
Creating the Foundation
- Chain the Base: Create a foundation row by making a chain of the desired width for your bag. For instance, to achieve a base width of 12 inches, start with 40 to 50 chain stitches, adjusting according to the yarn and gauge.
- Establish the Base Row: Work single crochets into each chain stitch across to create your first row. This will provide a stable base for the bag.
Building Up the Body
- Continue with Rows: For the subsequent rows, maintain a consistent stitch pattern. You can alternate single and double crochets for added texture or stick to single crochet for a tighter fabric.
- Changing Colors: If incorporating multiple colors, change yarn at the end of a row, ensuring to secure the change for a neat look.
Shaping the Bag
- Adjusting Width: To create a more structured bag, you may choose to add vertical stitches along the sides as you progress upwards.
- Creating the Depth: When you reach the desired height (e.g., 10 inches), begin decreasing stitches to shape the top. This can be done by skipping end stitches on alternate rows.
- Joining the Sides: To form the bag, be sure to fold it and join the side seams by slip stitching the edges together.
Adding the Strap
- Length and Width: Decide on the length of the crossbody strap. A good rule of thumb is 40 to 50 inches long and 3 to 4 inches wide for comfort.
- Crocheting the Strap: Use a combination of stitches to create a sturdy strap. A simple chain stitch followed by single crochets establishes durability, or consider a textured design that complements your bag.
Finishing Touches
- Weave in Ends: Use your tapestry needle to weave in any leftover yarn ends, ensuring a clean and polished appearance.
- Add Lining: If you opted for a fabric liner, measure the inside dimensions of the bag, cut the fabric, and carefully sew it into place.
- Closure System: Determine where you will install your closure and attach the button, snap, or zipper according to your design.
Now you have a complete and stylish crocheted crossbody bag perfect for showcasing your crochet skills!
Personalization Ideas for Your Crocheted Bag
Personalizing your crossbody bag can make it truly one-of-a-kind, reflecting your style and creativity. Here are some ideas to consider.
Embellishments
- Patches and Badges: Iron or sew on decorative patches that represent your personality, hobbies, or interests to enhance your bag’s appearance.
- Beads and Charms: Thread beads or charms onto the strap or create decorative fringe for texture and added interest.
Color Customization
- Ombre Effects: Play with ombre techniques by gradually changing colors as you crochet, providing a unique visual effect.
- Unique Patterns: Experiment with different stitch patterns throughout the body to create stripes, zig-zags, or floral motifs in your color choices.
Custom Hardware
- Unique Clasp Designs: Instead of traditional closures, consider using unique clasps, buckles, or magnetic snaps in different finishes to elevate the design.
- Personalized Tags: Attach a leather or metal tag with your initials or a meaningful word to give your bag a personal touch.
These customization ideas ensure that your crocheted crossbody bag stands out, showcasing your creativity and personal flair.

Final Thoughts on Crocheting a Crossbody Bag
Learning how to crochet a crossbody bag is a rewarding endeavor that allows you to express your creativity while crafting a functional accessory. Throughout this process, you develop essential crochet skills that can further influence your projects in the future.
With the versatility of this design, the possibility for personal customization, and the ability to choose colors and embellishments that reflect your unique style, a crocheted crossbody bag asserts itself as a staple in any wardrobe. Now that you have the skills and knowledge to create your own, you can confidently embark on this DIY project and enjoy the rewarding experience of handmade fashion.
As you grow more confident in your crocheting abilities, consider exploring different designs and complex patterns, continuously expanding your crafting repertoire. In essence, the world of crochet is rich with possibilities, and your new crossbody bag is just the beginning.
