Shoulder bags are a beloved fashion staple, offering both practicality and style. But have you ever considered crafting your own one-of-a-kind shoulder bag? Making a shoulder bag is a surprisingly achievable project, suitable for beginners or anyone who enjoys a touch of DIY magic. This comprehensive guide equips you with everything you need to know, from essential tools and materials to step-by-step instructions and creative inspiration.
Gathering Your Supplies: Essential Tools and Materials
Before diving into the creation process, gather the necessary tools and materials to ensure a smooth and successful experience. Here’s a list of what you’ll typically need:
- Fabric: The fabric selection is crucial for both the aesthetics and functionality of your bag. Popular choices include cotton canvas, denim, faux leather, or cork – each offering unique textures and styles. Consider the weight and drape of the fabric; sturdier fabrics are ideal for bags that will carry heavier items. You’ll need enough fabric for the bag’s body, lining (optional), straps, and any embellishments you desire.
- Scissors: Opt for a sharp pair of fabric scissors to ensure clean cuts. Pinking shears can help prevent fraying on certain fabrics.
- Sewing Machine: A sewing machine significantly simplifies the bag-making process. However, for a more rustic touch, you can hand-stitch your bag using a needle and thread.
- Matching Thread: Choose thread that complements the color of your fabric.
- Measuring Tape: A measuring tape is essential for ensuring accurate fabric cuts.
- Pins: Straight pins or safety pins will come in handy for holding fabric pieces together while sewing.
- Iron (Optional): An iron can be helpful for pressing seams flat and creating crisp edges.
- Bag Interfacing (Optional): Interfacing adds structure and stability to your bag, especially for softer fabrics. Fusible interfacing bonds to the fabric with heat, while non-fusible interfacing requires sewing in place.
- Carabiner Clips or D-Rings (Optional): These hardware pieces will be used to attach the straps to the bag body.
Additional Optional Materials:
- Zipper (Optional): If you desire a closure for your bag, a zipper can be incorporated. Choose a zipper length that corresponds to the width of your bag opening.
- Buttons or Magnetic Snaps (Optional): These can be used as alternative closures for your bag.
- Ribbon or Fabric Trim (Optional): Add a touch of personality with ribbon or fabric trim for accents or edging.
With your tools and materials gathered, it’s time to unleash your creativity and embark on your bag-making adventure!
Designing Your Dream Bag: Choosing a Style and Size
The beauty of DIY projects lies in customization. Before diving into the construction phase, take some time to consider the style and size of your ideal shoulder bag. Here are some popular options to inspire you:
- The Classic Tote: This versatile style features a rectangular body with two shoulder straps. It’s perfect for everyday essentials like your wallet, phone, and keys.
- The Slouchy Hobo Bag: This relaxed silhouette offers a casual vibe. Ideal for those who carry a lot, the slouchy hobo bag provides ample space without looking bulky.
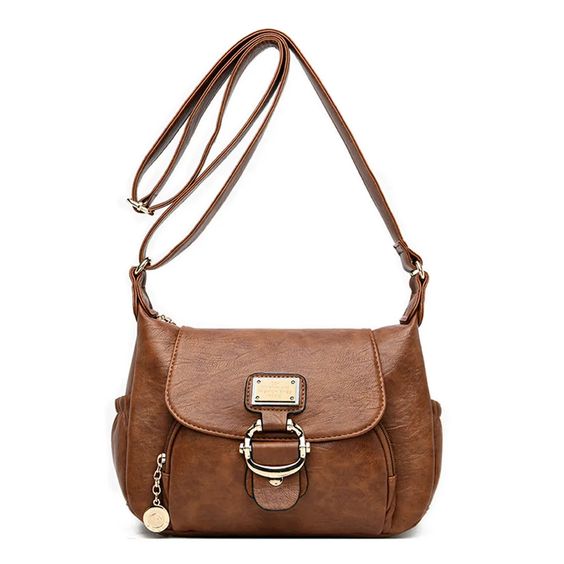
- The Structured Satchel: Featuring a defined shape and a flap closure, the satchel bag exudes a touch of sophistication. It’s a great choice for work or dressier outings.
- The Mini Crossbody Bag: This compact design sits comfortably across your body and is ideal for carrying essentials on the go.
Once you’ve chosen a style, determine the desired size of your bag. Consider what you plan to carry in your bag regularly and choose dimensions that accommodate your needs. Sketching a quick design or referencing online tutorials for specific bag sizes can be helpful.
Step-by-Step Stitches: Constructing Your Shoulder Bag
Now that you have your design visualized and materials prepared, let’s walk through the construction process of your shoulder bag. While specific instructions may vary slightly depending on your chosen style and embellishments, this general guide will provide a roadmap:
- Cutting Your Fabric: Lay out your fabric flat and use your measuring tape and marker to mark the dimensions for the bag body, lining (if using), straps, and any additional pieces you may need. Carefully cut out the fabric pieces.
- Interfacing (Optional): If using interfacing, iron it onto the wrong side of your main fabric pieces according to the manufacturer’s instructions.
- Constructing the Bag Body: Place the main fabric pieces right sides together and pin them along the edges. Sew along the pinned sides, leaving a seam allowance of about half an inch (1.3 cm). Repeat this process for the lining (if using), creating a separate lining piece.
- Creating the Bottom of the Bag: Here, you’ll create the boxed corners that give the bag its structure. With the right sides of the fabric still together, pinch the corners at the base of the bag. Mark a triangle from the corner point inwards, typically measuring about 1.5 inches (3.8 cm) on each side. Cut off the triangle, leaving a small gap at the bottom for turning. Repeat this process for all four corners.
- Assembling the Bag: Open the bag body carefully and clip or pin the bottom seam together, matching the raw edges. Sew along the bottom seam, closing the gap you left for turning.
Beyond the Basics: Inspiration and Embellishment Ideas
The world of DIY bag making offers endless possibilities for customization. Here are some inspirational ideas to spark your creativity:
- Play with Patterns: Don’t be limited to solid colors. Explore patterned fabrics, color blocking with contrasting fabrics, or patchwork designs for a unique look.
- Pockets for Practicality: Add pockets of various sizes inside your bag or on the outside for easy access to essentials like your phone or keys.
- Embellish with Flair: Buttons, beads, or appliques can add a touch of personality to your bag. Fringe, tassels, or fabric flowers can create a whimsical or bohemian vibe.
- Make it a Set: Craft a matching coin purse or phone case using leftover fabric scraps to complete your coordinated accessory set.
Sew Stylish, Sew You: Unleash Your Inner Designer
Creating your own shoulder bag is a fun and rewarding experience that allows you to express your unique style. Imagine carrying a bag that reflects your creativity and personality – a one-of-a-kind masterpiece crafted by your own hands!

Ready to embark on your DIY bag-making adventure? We offer a vast selection of high-quality fabrics, specifically chosen for their suitability in bag-making projects. From classic cotton canvas to trendy cork and faux leathers, you’ll find the perfect material to bring your dream bag to life. Explore our extensive collection of zippers, buttons, and other bag-making hardware to add functionality and flair to your creation.
Browse our website today and discover the inspiring world of DIY bag making! Find everything you need to get started, and don’t hesitate to reach out to our friendly customer service team for personalized recommendations and project assistance. Happy crafting!