Crafting a shoulder bag for your child is a fun and rewarding project. Not only does it allow you to create a unique and personalized accessory, but it’s also a great way to spend quality time together. This comprehensive guide walks you through the steps of creating an adorable and functional shoulder bag, perfect for your little one’s everyday adventures.
Choosing the Perfect Fabric and Supplies: Setting the Stage for Fun
Before diving into the sewing process, it’s crucial to gather the necessary materials. Here’s what you’ll need:
- Fabric: Opt for child-friendly fabrics that are durable yet lightweight. Cotton canvas, felt, or oilcloth are all great options. Choose colors and patterns that match your child’s personality and interests.
- Lining Fabric: A lightweight cotton fabric is ideal for the bag’s lining.
- Fusible Fleece (Optional): This adds structure and stability to the bag, especially for younger children who might be a little rough with their belongings.
- Scissors: Pinking shears are recommended to prevent fraying on fabric edges, but regular fabric scissors will work too.
- Sewing Machine and Thread: Choose a thread color that complements your chosen fabrics.
- Ribbon or Fabric Straps: Consider the weight of the bag and your child’s comfort when selecting straps.
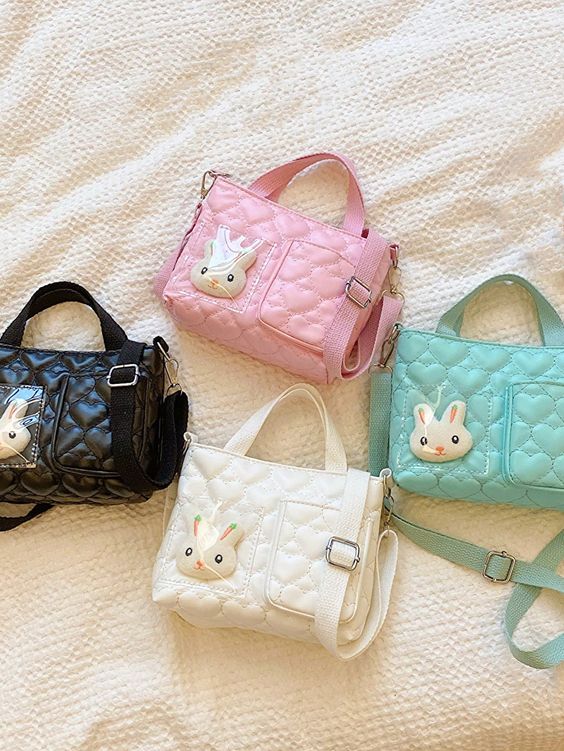
- Optional Embellishments: Buttons, ribbons, appliques, or patches can add a personal touch to your child’s bag.
With all the supplies gathered and your creative spirit ignited, let’s move on to crafting the perfect little shoulder bag!
Designing for Little Adventures: Exploring Bag Shapes and Sizes
There are various kid-friendly shoulder bag shapes to consider. Here are a few popular options:
- Simple Tote Bag: This is a great beginner’s project. It’s a rectangular bag with two handles, perfect for carrying small toys, snacks, and other treasures.
- Drawstring Bag: This fun and functional option uses a drawstring closure to keep contents secure. It’s ideal for younger children who might struggle with zippers or snaps.
- Messenger Bag: This features a flap closure and a crossbody strap, offering a more grown-up look for older kids.
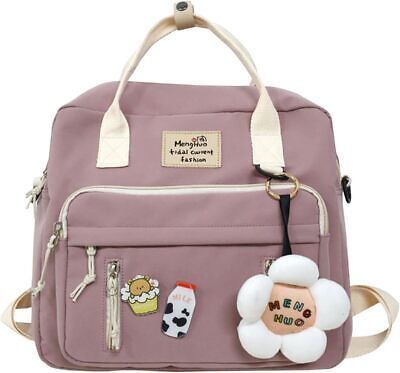
- Animal-Shaped Bags: Get creative and craft a bag shaped like your child’s favorite animal! This adds an extra element of fun and personalization.
Once you’ve chosen the desired shape, determine the size of the bag. Consider your child’s age and what they’ll be using the bag for. A small tote is perfect for younger children, while older kids might prefer a slightly larger bag to carry books or art supplies.
Step-by-Step Sewing Guide: Creating Your Kid’s Shoulder Bag
Now that you have your design in mind, let’s get sewing! Here’s a step-by-step guide to creating a simple and adorable tote bag:
Materials:
- Two main fabric pieces (cut to desired size based on your chosen dimensions)
- Two lining fabric pieces (same size as main fabric pieces)
- Fusible fleece (optional, same size as main fabric pieces)
- Ribbon or fabric straps (cut to desired length for shoulder strap)
- Thread
- Sewing machine
Instructions:
- Prepare the Fabric: If using fusible fleece, iron it onto the wrong side of each main fabric piece. This adds stability and structure to the bag.
- Create the Bag Body: Place the two main fabric pieces right sides together. Sew along the sides and bottom of the bag, leaving the top opening unsewn. Repeat this step for the lining fabric pieces.
- Construct the Straps (Optional): If using ribbon for the straps, fold the ribbon in half lengthwise and iron it flat to create a finished edge. Sew along the open side to secure it. For fabric straps, sew two long fabric strips together, right sides together, turn them inside out, and iron flat.
- Attach the Straps: Pin the ends of the straps to the right side of one main fabric piece, placing them at an even distance from the side seams. Sew the straps securely in place.
- Assemble the Bag: Place the lined bag pieces inside each other, right sides together. Pin along the top opening, ensuring the straps are sandwiched between the fabric layers. Sew around the top opening, leaving a small gap for turning.
- Finishing Touches: Clip the corners of the bag to reduce bulk and turn the bag right side out. Poke out the corners and push the lining inside. Topstitch around the top opening to close the gap and secure the lining in place.
Sewing with Little Helpers: Tips for Crafting with Kids
Crafting with children can be a messy but rewarding experience. Here are some tips to make sewing a fun and positive activity for both you and your child:
- Choose Simple Projects: Start with a beginner-friendly bag shape like a simple tote or drawstring bag. This will help your child feel successful and accomplished.
- Let Them Choose Fabrics and Embellishments: Involve your child in the selection process. Let them pick out fabrics and embellishments that reflect their personality and interests.
- Break it Down into Steps: Divide the project into manageable steps and allow your child to participate in age-appropriate tasks. Younger children can help with tasks like sorting fabrics, choosing embellishments, or placing pins. Older children can learn basic sewing techniques like cutting fabric or straight stitching.
- Embrace the Imperfections: Remember, this is a fun project, not a competition. Don’t stress about perfectly straight seams or minor mishaps. The imperfections often add to the charm of a handmade item.
- Celebrate the Finished Product: Once the bag is complete, take a moment to celebrate your child’s creation! Let them wear their new bag proudly and enjoy the fruits of their creative labor.
Beyond the Tote: Exploring Additional Kid-Friendly Bag Designs
The simple tote bag is a great starting point, but there are endless possibilities when it comes to crafting kid-friendly shoulder bags. Here are some additional ideas to inspire you:
- Drawstring Backpack: This is a fun and functional option for older children. It offers hands-free carrying and keeps their belongings secure.
- Mini Messenger Bag: A scaled-down version of a classic messenger bag is perfect for older kids who want a more grown-up look.
- Animal-Shaped Bags: Get creative and craft a bag shaped like your child’s favorite animal! Use felt or fleece for a softer, more huggable option.
- Themed Bags: Planning a birthday party or a special outing? Craft a bag themed around the occasion! For a space adventure, create a rocket-shaped bag. For a tea party, design a dainty purse with lace and ribbons.
With a little imagination and these helpful tips, you can create a unique and personalized shoulder bag that your child will cherish for years to come.
Unleashing Creativity and Crafting Memories: The Joy of Sewing with Kids
Sewing a shoulder bag for your child is more than just creating a practical accessory. It’s a chance to bond, explore creativity, and create lasting memories. So grab your sewing supplies, gather your little helper, and embark on this fun and rewarding project!
Sew a Smile on Your Child’s Face: Craft the Perfect Shoulder Bag Today!
Looking to create a unique and personalized shoulder bag for your child? Look no further! Explore our vast selection of kid-friendly fabrics, ribbons, and embellishments. We offer high-quality sewing supplies perfect for crafting projects of all shapes and sizes. From beginner-friendly tote bags to whimsical animal-shaped designs, the possibilities are endless!